By using our site, you agree to our cookie policy.
Taking the perfect photo.
How do you take photos to sell your property? Our property photo guide will help you take the best possible photos to sell you home.
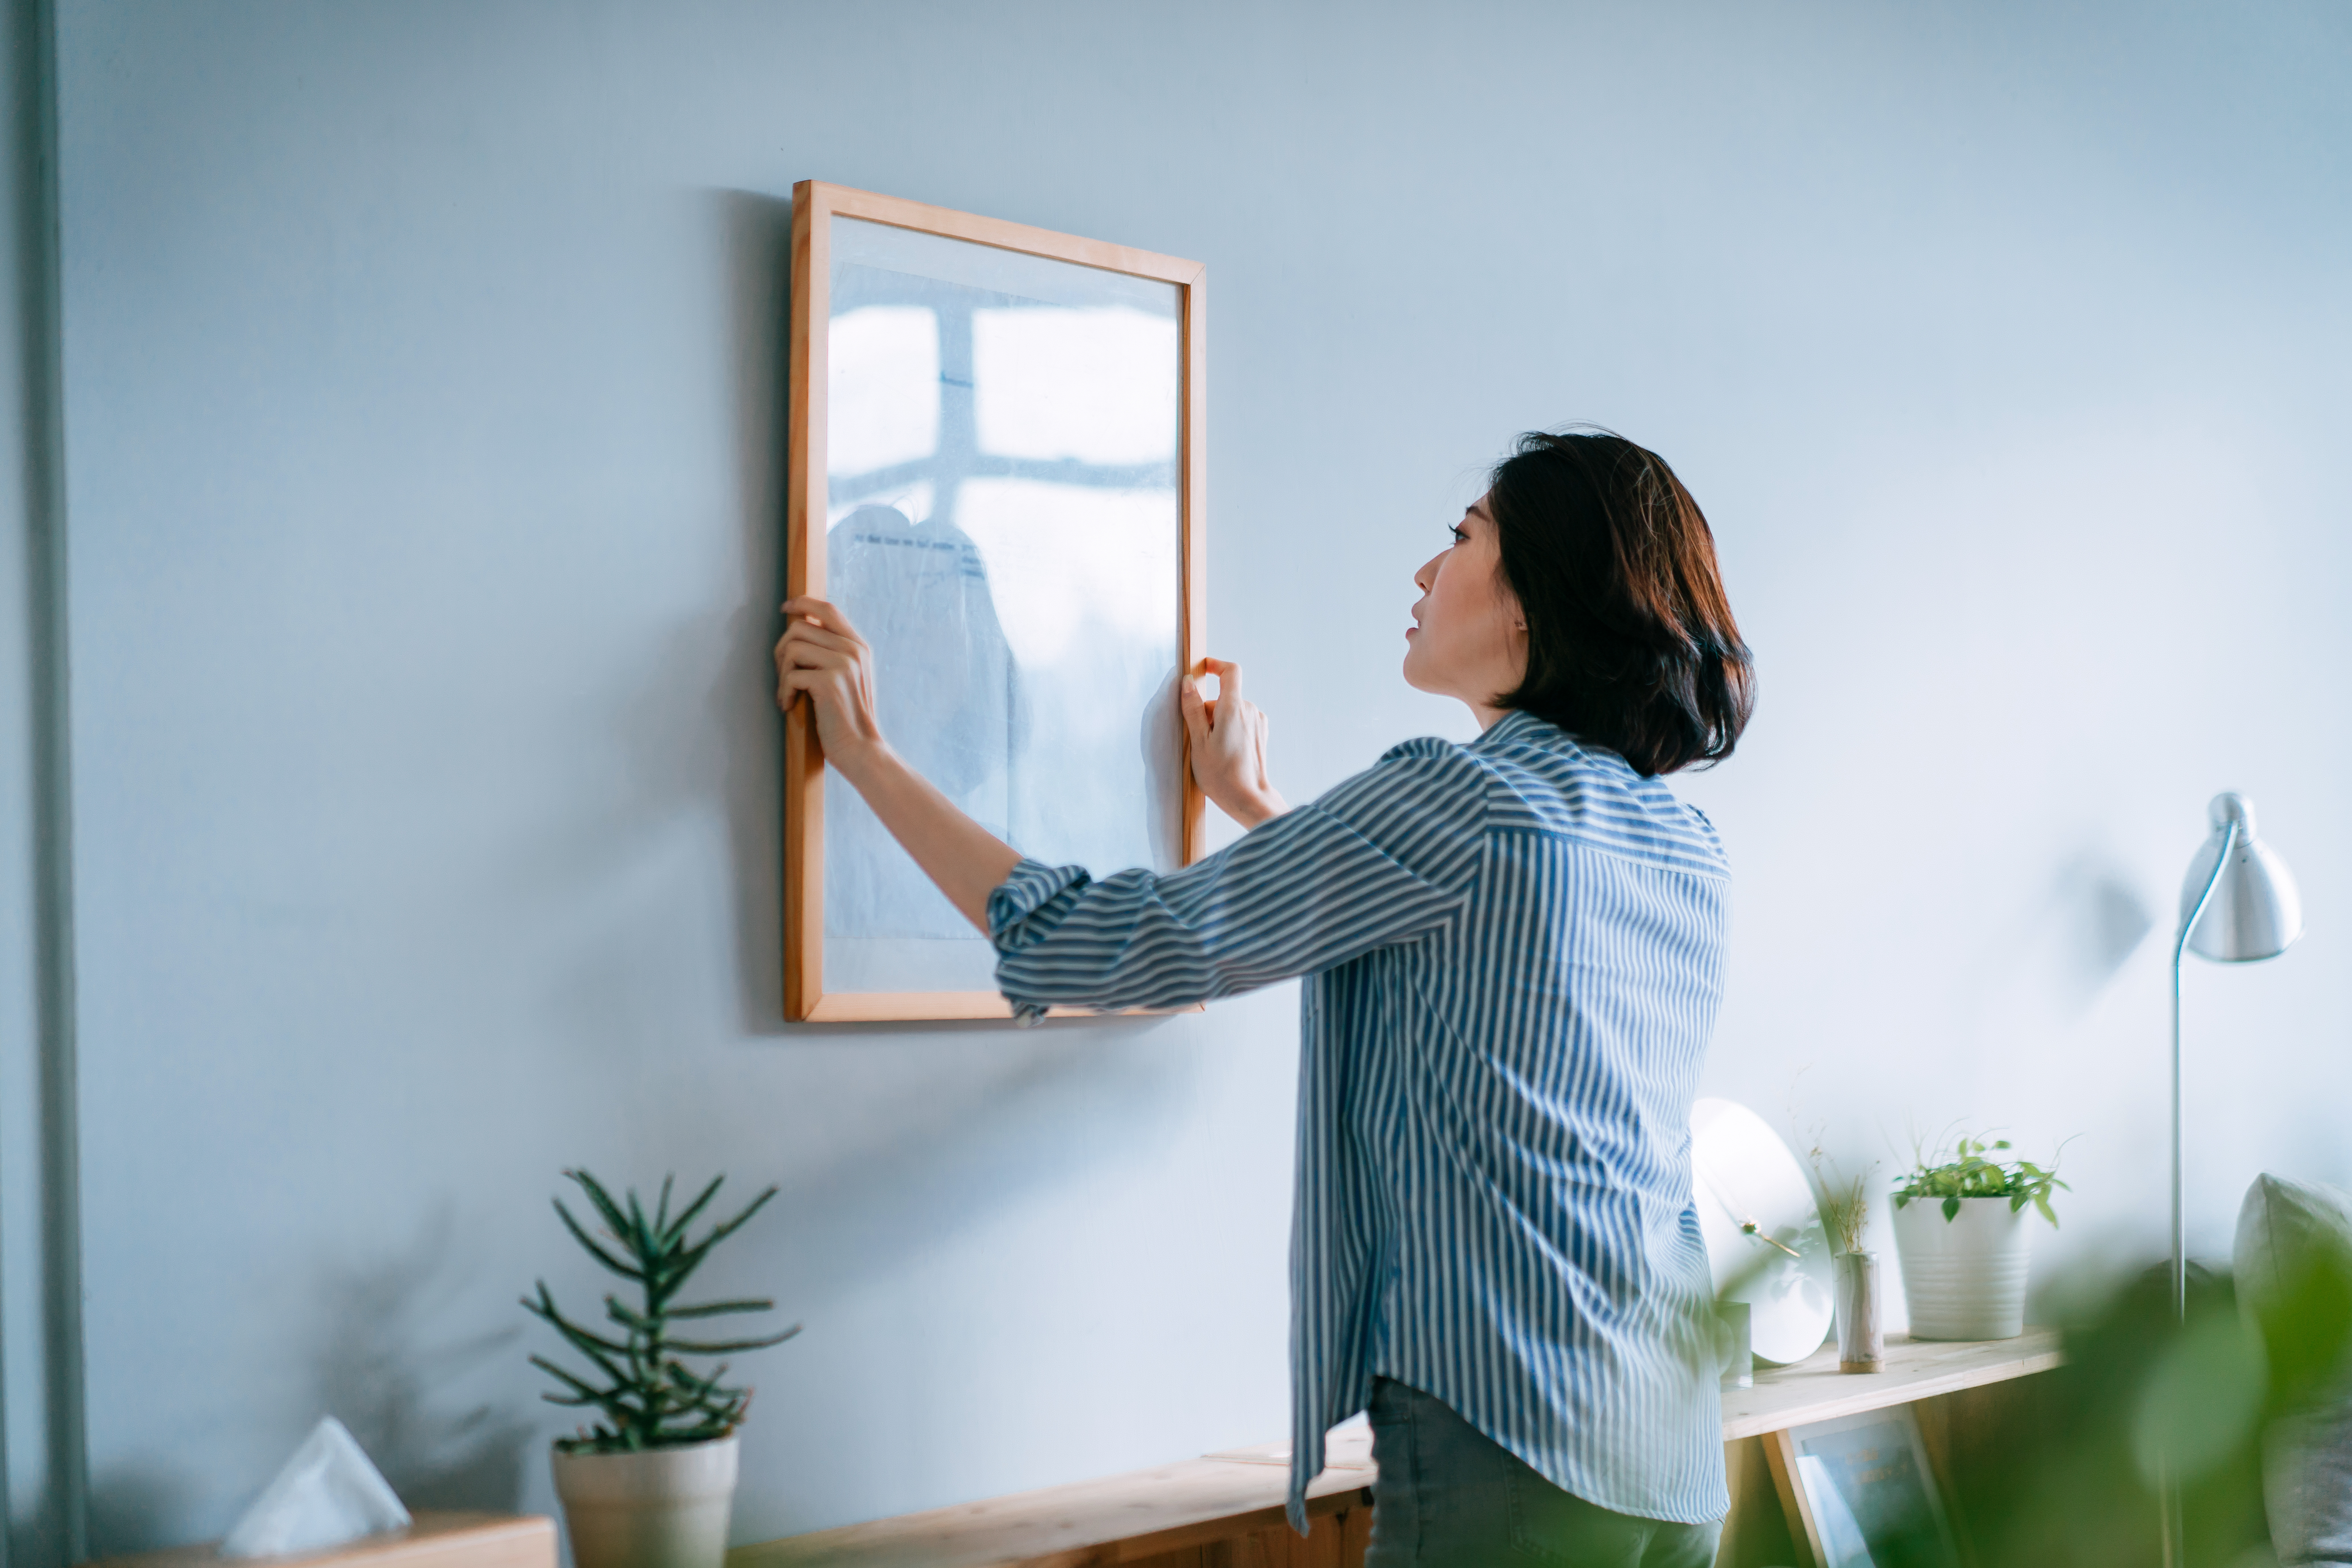
Photos are a key part in selling your home, so it’s worth taking the time to get them right. Photographs are the first chance to give buyers an idea of the space and imagine themselves making it a home. We’ll talk you through everything you need to take your own photos in the simple guide. (Don’t worry, it’s easier than you think.)
Staging the space
When it comes to photos, a little planning can make a big difference. Preparation is one of the most important points of capturing great images of your home — you might hear this process referred to as “staging”, but it’s really just setting the scene.
So how do you set the scene? Start with streamlining. Don’t be afraid to remove things from the space to make it feel less cluttered and create a clean, relaxing atmosphere. Here are a few things you can try: Try to hide any wires Remove any personal photographs Fluff pillows and wipe surfaces Vacuum floors
Lighting your property
It’s all about lighting, especially when taking pictures of your home. Make sure to let in as much natural light as possible — this might mean finding the time when you get the most bright, natural light. Even if you don’t have a ton of natural light, there are a few tricks you can try: Open any curtains and blinds Take photos at sunrise or sunset Light lamps if you don’t have enough natural light Use mirrors to maximise light

A shot of the entrance of the house and from street view can be a nice bonus, especially if you have a front garden to show off."
Composition
You’ve set everything up to show your home at its best, but how do you actually take a great photo? Well, photographers call this “composition” — but it basically means positioning your photos to make them as engaging as possible.
Start with your camera parallel to the floor and stay clear of wonky angles. We’ll talk about what height to hold your camera in the next sections, but a parallel, steady camera is key.
Next, the rule of thirds — you may want to use the grid feature on your camera, but essentially you want to make sure the focus of your image (a window, a couch, an amazing roll top bath tub) is in the middle of the photo. One-third of the space should be above it, one third should be below.
Finally, show off the best features of your home with some close-ups. Zooming in on any particular features of your home that add character will help to sell your space.

Interior
How do you make the most of your internal shots? For bedrooms, living spaces and bathrooms, it’s best to keep the camera at waist height. This helps to capture the floor as well as the ceiling in one shot — but it also helps to elongate your ceilings and give a sense of space. For kitchens its slightly different, shooting at eye level allows you to capture your cabinets and worktops.

And that’s it — like we said, it’s easier than you think. You know your property better than anyone, so be sure to capture all the features that made you fall in love with the property and that will translate to the buyer. It’s important to get around 10-15 images, and make sure to take your time and really show what makes your house a home.
selling guides
Let's make moving easy
How much is my home worth?
Ready to strike? Whether you're looking for a quick online estimate or a full, in-person valuation, we've got you covered.
Selling your house tips
Ready to Strike? We break down the step by step process of selling your home, from the best time to sell to how to get the best price.
Estate agent fees
One of the highest cost for sellers is estate agent fees. We believe it's time for a change so we're striking out fees altogether.
How to sell online
The entire world has gone virtual — isn’t it time estate agencies caught up? Here’s how you can sell smarter and cheaper online.
Strike feel free
Copyright © Strike Limited 2024

